Limits
- 10MB total attachment size
- 10 emails per day for the free tier, 1000 emails per day for the paid tiers
REST API
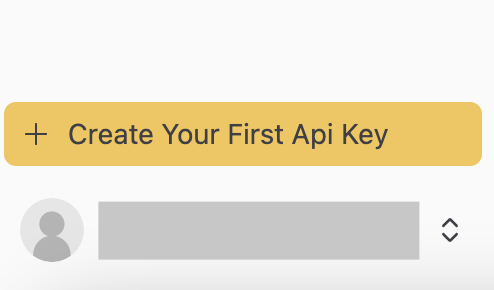
1. Create an Api Key (if you don’t already have one)
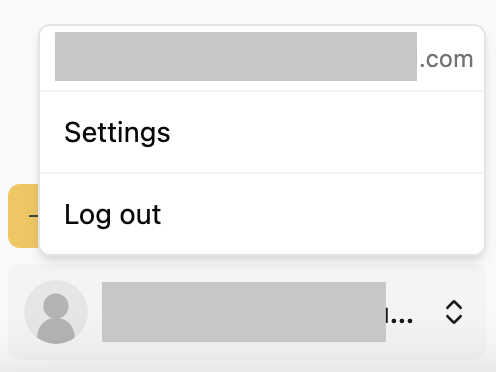
Create an api key by going to the api keys page. You can also click theCreate Your First Api Key button in the sidebar or navigate to the api keys page by clicking Settings, under the user dropdown at the bottom of the sidebar.
Be sure to save the api key somewhere safe. You will not be able to see it
later if you lose it.
2. Send an Email
See the API Reference for
more information on the request body.
Optional - Add an Attachment
Add an attachment to the attachment pool by sending a request to the add attachment to pool endpoint.send_email request.
Python Client
1. Create an Api Key (if you don’t already have one)
Create an api key by going to the api keys page. You can also click theCreate Your First Api Key button in the sidebar or navigate to the api keys page by clicking Settings, under the user dropdown at the bottom of the sidebar.
Be sure to save the api key somewhere safe. You will not be able to see it
later if you lose it.
2. Install the Client (if you haven’t already)
3. Initialize the Client
4. Send an Email
See the API Reference for
more information on the request body.
Optional - Add an Attachment
With the python client, you can just pass the file info directly to thesend_email method and it will handle adding the attachment to the pool for
you.
TypeScript Client
1. Create an Api Key (if you don’t already have one)
Create an api key by going to the api keys page. You can also click theCreate Your First Api Key button in the sidebar or navigate to the api keys page by clicking Settings, under the user dropdown at the bottom of the sidebar.
Be sure to save the api key somewhere safe. You will not be able to see it
later if you lose it.
2. Install the Client
3. Initialize the Client
4. Send an Email
See the API Reference for
more information on the available parameters.
Optional - Add an Attachment
With the TypeScript client, you can pass raw attachments directly to thesendEmail method: